Imagine a scoop of ice cream so incredibly smooth, so rich with genuine vanilla flavor, that you'd swear it came straight from a gourmet creamery. Now imagine that decadent treat is entirely dairy-free, vegan, and surprisingly simple to whip up right in your own kitchen. This isn't a dream; it's the reality of creating your very own vanilla bean coconut milk ice cream. Far superior to many store-bought alternatives, this homemade delight offers a pure, unadulterated taste experience that caters to all, regardless of dietary preferences.
The Allure of Creamy Vegan Vanilla Bean Coconut Milk Ice Cream
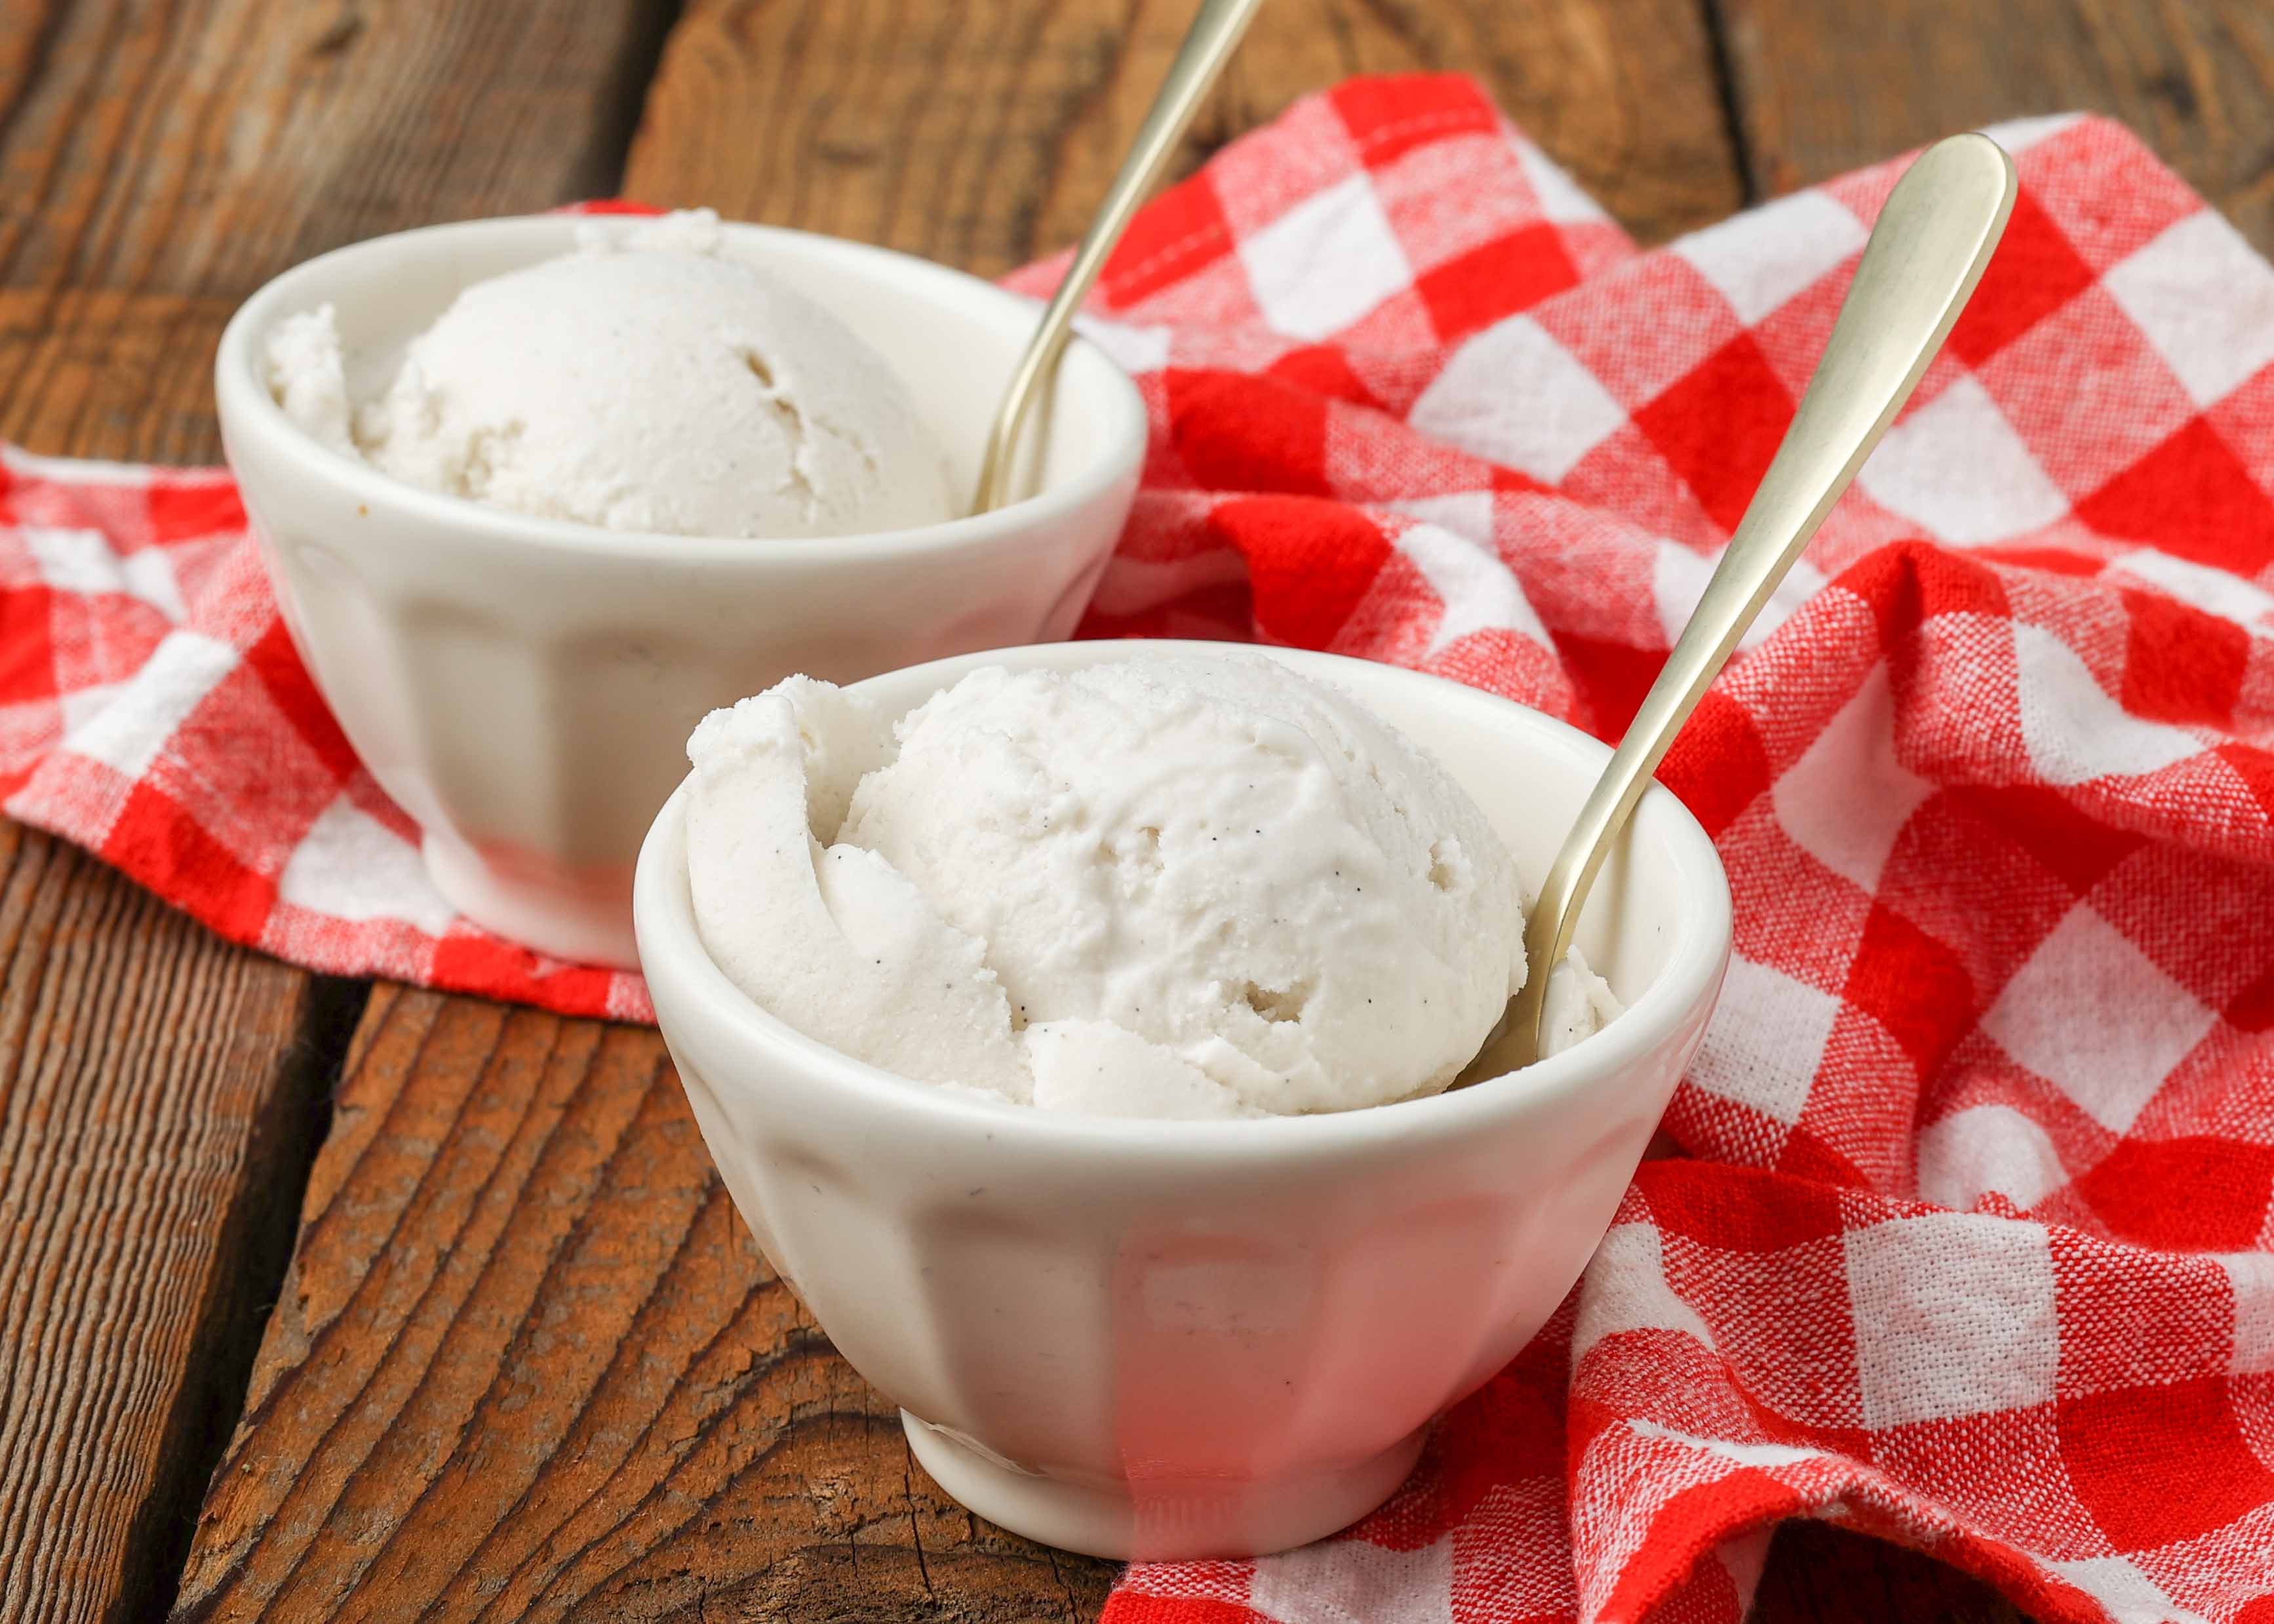
There's something truly magical about homemade ice cream, and when it comes to dairy-free versions, this Easy Homemade Dairy-Free Vanilla Bean Ice Cream stands in a league of its own. It’s not just an alternative; it's a destination for your taste buds. The rich, creamy texture derived from full-fat coconut milk provides a luxurious mouthfeel that rivals traditional dairy ice creams, while the unmistakable aroma and flavor of real vanilla beans elevate it to gourmet status. For those navigating dairy intolerances, allergies, or simply embracing a plant-based lifestyle, this recipe is a game-changer.
Many commercially available dairy-free ice creams can fall short, sometimes lacking in creaminess or depth of flavor. Our guide ensures you avoid these pitfalls, delivering a dessert that’s not only incredibly satisfying on its own but also a fantastic canvas for your favorite toppings. Think fresh, ripe strawberries bursting with sweetness, or a luscious drizzle of homemade chocolate syrup – the possibilities are endless. Beyond being a healthier and more inclusive option, the sheer simplicity of crafting such a delightful treat at home makes it an instant favorite.
Essential Ingredients for Heavenly Vanilla Bean Coconut Milk Ice Cream
Crafting the perfect batch of this luscious dessert begins with selecting the right components. While the ingredient list is refreshingly short and pronounceable, each item plays a critical role in achieving that coveted creamy texture and profound vanilla flavor.
- Full-Fat Coconut Milk (2 x 13.5-14oz cans): This is the absolute cornerstone of your vanilla bean coconut milk ice cream. It's crucial to use full-fat varieties, as the fat content is what provides the incredible creaminess and prevents excessive ice crystal formation. Lite, low-fat, or reduced-fat coconut milk simply won't yield the same rich results. Brands like Thai Kitchen's unsweetened coconut milk are often recommended for their consistent quality. Ensure your cans are well-chilled, which helps separate the cream from the liquid.
- Sweetener (1/2 cup): You have options here. Granulated sugar is a classic choice, dissolving beautifully into the base. Alternatively, liquid sweeteners like honey (if not strictly vegan) or maple syrup can be used. Liquid sweeteners, in particular, can contribute to a softer texture in frozen desserts, as they have a lower freezing point. Whichever you choose, ensure it's thoroughly dissolved.
- Vanilla Beans (1-2, split lengthwise): The star of the show! Real vanilla beans offer an unparalleled depth of flavor and aromatic complexity that extract simply can't match. To extract their goodness, carefully slit the beans lengthwise with a sharp knife and scrape out the tiny, flavorful seeds. Don't discard the pod itself; it can be simmered with the base to infuse even more flavor. For convenience, if vanilla beans are unavailable, you can substitute with 2 tablespoons of high-quality pure vanilla extract, though the flavor profile will be slightly different.
- A Pinch of Salt: Often overlooked, a tiny pinch of salt (about 1/4 teaspoon) goes a long way in enhancing and balancing the sweetness and rich vanilla notes.
- Optional Additions for Texture: For an even softer, more scoopable texture and to combat pesky ice crystals, consider adding a teaspoon of arrowroot starch (mixed with a tablespoon of cold water into a slurry before adding to the warm base) or even a splash of alcohol like vodka (1-2 tablespoons). These additions, as explored in articles like Prevent Ice Crystals: Perfect Vanilla Bean Coconut Milk Ice Cream, significantly improve the final consistency, especially when storing for longer periods.
Choosing the Right Coconut Milk: A Crucial Step
The success of your vanilla bean coconut milk ice cream hinges almost entirely on your choice of coconut milk. Full-fat is non-negotiable. When chilling canned coconut milk, the thick cream will separate and rise to the top. Many recipes advise scooping out only the thick cream, but for this ice cream, using the entire contents of the can (cream and water) works beautifully to create a rich, pourable base.
Mastering the Method: Crafting Your Creamy Delight
The process of making this delightful dairy-free ice cream is surprisingly straightforward, whether you have an ice cream maker or not. The key is in thoughtful preparation.
Preparing the Base Mixture
In a small saucepan, combine the full-fat coconut milk, your chosen sweetener, and the pinch of salt. Slit your vanilla bean(s) lengthwise and carefully scrape out the fragrant seeds. Add both the seeds and the scraped pods to the pan. Gently whisk these ingredients together.
Heat the mixture over medium-low heat, bringing it almost to a boil, then reduce to a bare simmer for just a few minutes, stirring occasionally until the sweetener is completely dissolved. Do not skip this heating step! Heating ensures the sugar dissolves properly and allows the vanilla flavor to truly infuse into the coconut milk. Skipping this can result in a grainy or clumpy texture later. Once simmered, remove the pan from the heat, take out the vanilla pods (you can rinse them, dry them, and put them into a jar of sugar to make vanilla sugar!), and let the mixture cool completely to room temperature. This is crucial for flavor development and ensuring your ice cream churns properly. Once cool, transfer the mixture to an airtight container and chill thoroughly in the refrigerator for at least 4 hours, or preferably overnight. A very cold base churns into a much creamier ice cream.
Churning with an Ice Cream Maker
If you own an ice cream maker, this step is wonderfully simple. Once your base is thoroughly chilled, pour the mixture into your ice cream maker. Follow the manufacturer’s instructions for churning. This typically takes 20-30 minutes, resulting in a soft-serve consistency. At this stage, it's absolutely delicious straight from the machine! For a firmer scoop, transfer the freshly churned ice cream to an airtight, freezer-safe container and freeze for an additional 2-4 hours until it reaches your desired firmness. The airtight container is important to prevent freezer burn and keep the ice cream fresh.
No-Churn Method: A Simplified Approach
No ice cream maker? No problem! While an ice cream maker offers the quickest path to creamy perfection, you can still achieve a fantastic vanilla bean coconut milk ice cream without one. Pour your thoroughly chilled base mixture into a shallow glass or metal freezer-safe container. Cover it with plastic wrap, pressing it directly onto the surface of the mixture to prevent ice crystals, then cover with a lid. Place it in the freezer.
Every hour for the first 3-4 hours, remove the container from the freezer and vigorously whisk the mixture, breaking up any ice crystals that have formed. This process mimics the churning action of an ice cream maker, incorporating air and creating a smoother texture. Continue until it reaches a thick, slushy consistency. Then, freeze for another few hours until firm enough to scoop. This no-churn version will last well in the freezer for 1-2 weeks, though it's often so good it disappears much faster!
Tips for the Perfect Consistency and Flavor
One common characteristic of coconut milk ice cream is that it tends to melt a little faster than dairy ice cream. To mitigate this and prevent it from freezing into a rock-hard block, ensure your freezer temperature is stable, and if possible, serve it directly from the freezer. Incorporating arrowroot starch or a small amount of alcohol, as mentioned earlier, can also significantly improve the scoopability and prevent the formation of large, undesirable ice crystals, ensuring every spoonful is smooth and delightful.
Serving Suggestions and Creative Pairings
Your homemade vanilla bean coconut milk ice cream is a masterpiece on its own, but its subtle sweetness and rich vanilla profile make it an incredibly versatile dessert component. Enjoy it simply scooped into a bowl, savoring the pure, creamy flavor. For an added touch, consider pairing it with:
- Fresh Berries: Strawberries, raspberries, blueberries, or a mixed berry compote provide a refreshing tartness that beautifully complements the creamy vanilla.
- Homemade Chocolate Syrup: A classic pairing! A rich, warm chocolate sauce drizzled over cold vanilla ice cream is pure bliss.
- Toasted Coconut Flakes: A sprinkle of toasted coconut can enhance the subtle coconut notes of the ice cream and add a delightful textural crunch.
- Warm Fruit Crumbles or Pies: Serve a scoop alongside a warm apple crisp, peach cobbler, or a berry pie for a comforting and indulgent dessert.
- Coffee or Espresso: Create a dairy-free affogato by pouring a shot of hot espresso over a scoop of vanilla bean coconut milk ice cream.
Conclusion
Creating your own creamy, dreamy vanilla bean coconut milk ice cream is a rewarding culinary adventure. With just a few simple, high-quality ingredients and a little patience, you can produce a dairy-free dessert that not only meets but often surpasses commercial offerings in flavor and texture. Embrace the rich vanilla bean essence, the luscious coconut creaminess, and the sheer joy of a truly homemade treat. Whether you're a seasoned vegan or simply exploring healthier dessert options, this guide empowers you to whip up a batch that will delight everyone. So go ahead, churn up some happiness and discover the irresistible pleasure of a perfect scoop of homemade goodness!
